tisdag 16 augusti 2011

DIY Star Wars baby mobile

0 kommentarer
Me and my wife are having a baby, wohoo!

So I thought long and hard how I could contribute to a happy childhood.
Let me introduce the DIY Star Wars baby mobile.

I bought 4 of Revell's miniature Star Wars ships from amazon, some wood and glow-in-the-dark planets.

Next up I assembled the models and painted them.
I used white and red paint on the ships' hulls, making contrast patterns for the baby to ponder on.
I made a wooden frame for the mobile, painted it white and strung everything up.

The ships have different weights so the X-wing have some pearls as a temporary extra weight, I'm going to switch the pearls to a safer solution before the baby's born.

Here's the photos:

The ships up front

Death from above
Contrast patterns
All set up
What we see
What the baby sees

Google+ messup and finished new project

0 kommentarer
Joined Google+ a while ago and while doing that I must have put some paranoia privacy control of the picasa photo album for this blog.
I just made the photo album public again : )

In a couple of days I will upload my latest non electric project : )

torsdag 9 juni 2011

Korg NanoKontrol mod

0 kommentarer
I bought a Korg NanoKontrol cheap to control softsynths and Cubase, it's a
great little thing but the graphic design is not to my liking.
So I thought I could mod it a little : )


Before : /


Started by taking it all apart


Then I removed all the paint with sandpaper and spray painted it white


I don't need the transport buttons, I use a Contour Shuttle for that.
I used a dremel to cut out a rectangle from a sheet of aluminium, brushed it up with sandpaper
and spray painted it white and black.
I then glued it over the cut outs for the transport buttons.
I haven't decided yet if I should get new slider caps and pot knobs.

I'm quite happy with the result! : )


Much better! : )

onsdag 8 juni 2011

Shruti-1 white mod

0 kommentarer
Got an interesting synth for my birthday, the Shruti-1 from Mutable Instruments.
(I have really good friends : )
My only mod (so far) is a white paint job of the acrylic glass.
I have it permanently hooked up to my studio setup and control it via NanoKontrol
Here are some pics of how I put it together:


Le start.


Resistor hell.

Progress.


Two boards.


And merged.
The paint job.

And done. It sounds fantastic!

måndag 7 mars 2011

Modding the Philips EL6425 - etching brass

0 kommentarer
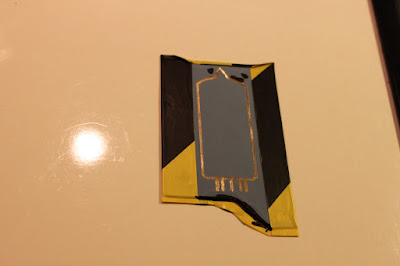
Time to etch the brass I cut yesterday.
Started by transferring a print to the brass.


It's important to cover everything you don't want etched.


The etched brass after I put it into a mix of sodium persulfate (natriumpersulfat)
and warm water.


Time to paint : )


After removing the excessive paint.
Polished with brass cleaner.


And here we go, I'm quite happy with the result.


söndag 6 mars 2011

Modding the Philips EL6425 - taking care of the power supply

0 kommentarer
Time to take care of the power supply board. By cutting the chassis, I leave the hazardous parts of the power supply wide open.
So I want to shield it by putting a brass panel with circuit board material underneath.


Please do not touch..


Cutting the circuit board and the brass with my dremel.
The circuit board will act as an insulate for the brass.


And then put them together.


And some testing to see if it all fits.


And finished! : )
The next step is to etch the brass.


onsdag 2 mars 2011

Modding the Philips EL6425 - taking care of the ugly-as-f**k chassis

0 kommentarer
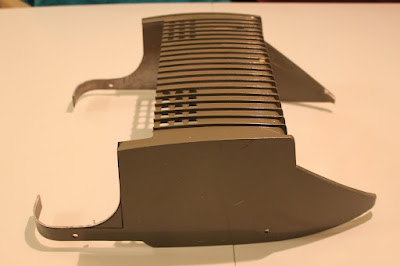
Right.. The chassis really is ugly.
I want to keep the 60's feel and bring the tubes out in the free..
I contacted Johan at Mattssons Smide http://www.mattssonsmide.se and asked him if he could cut the chassis. He pondered the idea for a moment and said, no problem.
He was really helpful and managed to do a really good job of cutting the chassis.
And at a most reasonable price.
Thank you, Johan!

Next step is to paint and lacquer the chassis.


The chassis before cutting:


And after:


Modding the Philips EL6425 - cleaning and painting

0 kommentarer
Time to clean the inside of the beast. Incredible amount of oily dust had to go.
Painted the backside black.